
Yesterday my daughter, Kimani, launched her very first website. If you don’t follow me on Instagram or Facebook, you may have missed it.
As much as I wanted to do it for her, I thought it would be a great opportunity to learn how to do it herself. Today I’m going to walk you through the steps Kimani took to launch her site and also add her own line of apparel and mugs.
DISCLOSURE: THIS POST MAY CONTAIN AFFILIATE LINKS, WHICH MEANS I GET A COMMISSION IF YOU DECIDE TO MAKE A PURCHASE THROUGH MY LINKS, AT NO COST TO YOU.
Site Creation and Launch Steps
Before she touched her computer, I encouraged her to pull out a pen and paper and plan as much as she could.
Step 1 : Research and Plan
Kimani sat and did a brain dump of all the things she wanted to see and do with her new website. She followed the steps in the Anatomy of a Website E-book to plan content for each page. She also chose her fonts and brand colors that she wanted to use on her website and graphics.

She had a few options in mind when it came to business names, but she ultimately decided on Prism Ink Creations, which included her love for rainbows and the art of drawing/sketching. Once she decided on a name, she decided to design her own logo.
Step 2: Purchase domain and hosting
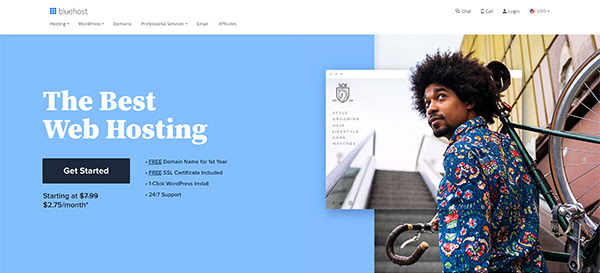
Because she took the time to think of her business name in advance, creating a domain was simple. She did a search to see if prisminkcreations.com was available, and luckily it was available. We worked together to register her domain with Bluehost, and used their quick WordPress installation.
Step 3: Installed the Divi theme and pages

We decided to use a premium drag & drop theme and builder so that Kimani can easily change her design if necessary.
Step 4: Design and add content to each page
Using the content she created from step 1, she created each page of her site.
Apparel & Mug Creation Process

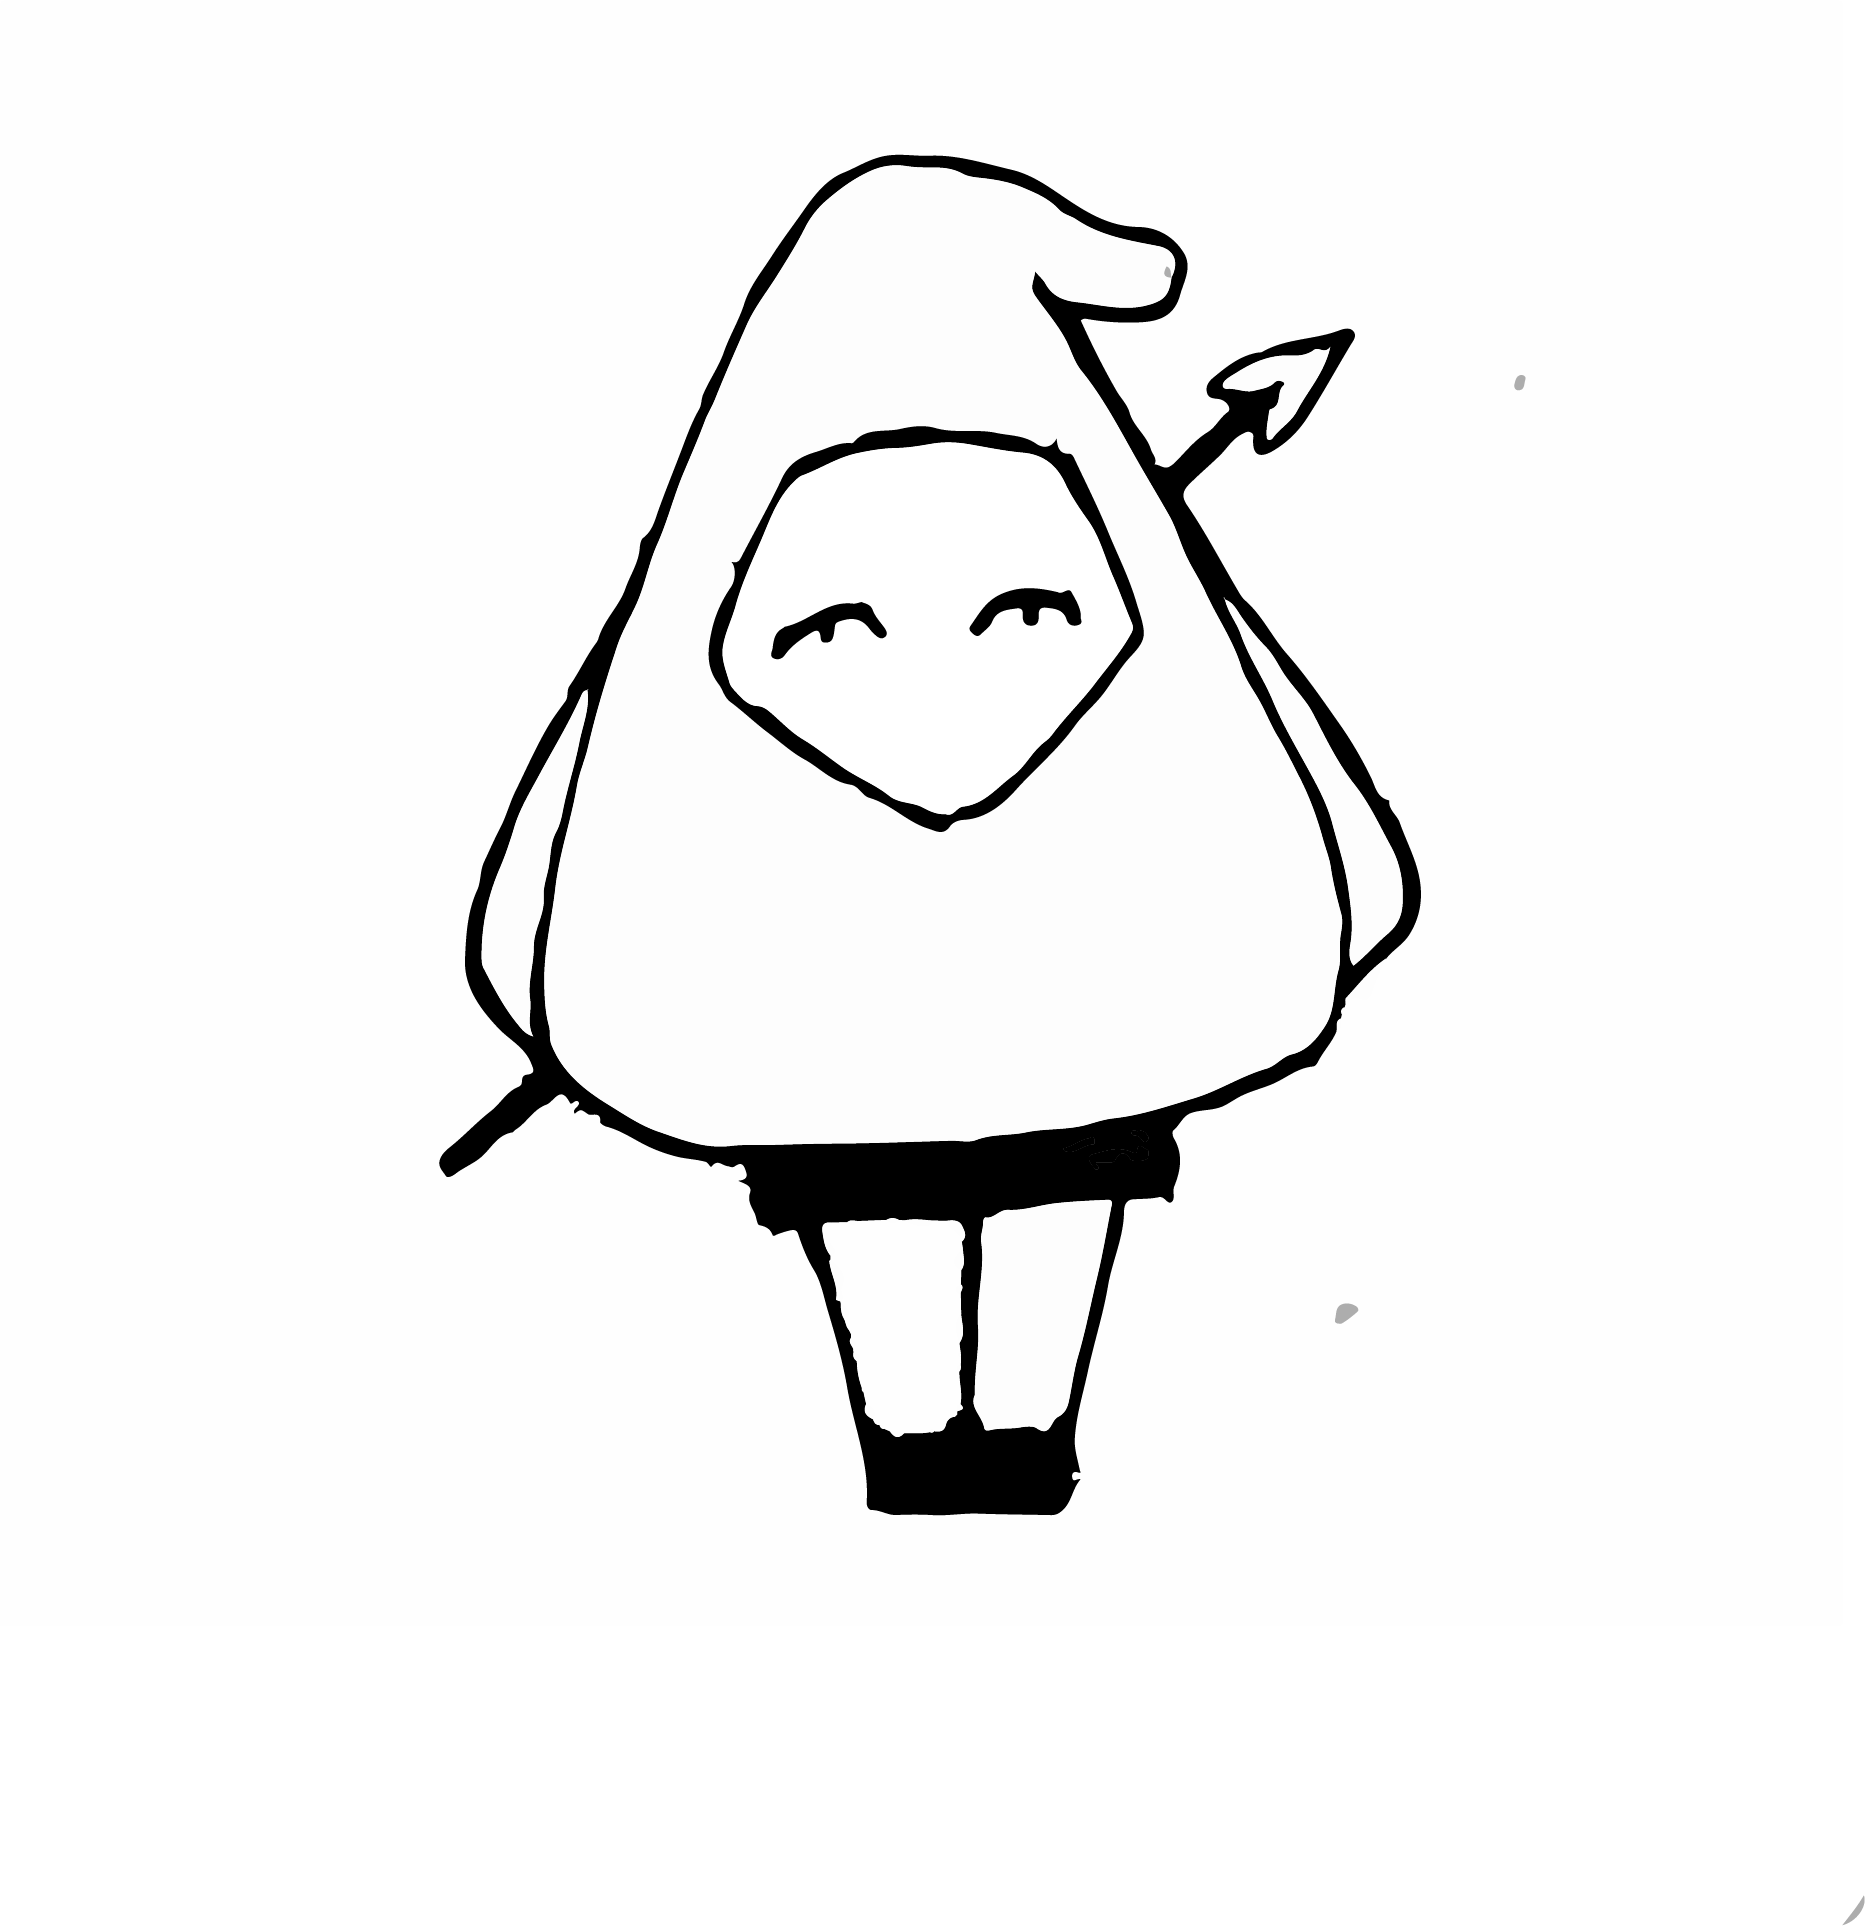
Step 1: Created design(s) for her apparel and mug line
Kimani initially sketched her designs, then we had them converted to a digital format. She then downloaded the file with a transparent background in png format.

Step 2: Installed and configured Woocommerce plugin
Woocommerce is a shopping cart plugin that will be used to sell her products.
Step 3: Signed up for a payment processor ( PayPal, Square, Stripe, etc.)
Step 4: Signed up for an account at Printful
Printful is a print on demand company that will handle the creation and shipping of her products.
Step 5: Installed and set – up printful plugin
Step 6: Chose & customized her products in Printful
Step 7: Add products to the Printful store
Final Steps:
Once it was all said and done, Kimani and I worked together to test the site to make sure it was not only responsive, but also to make sure that everything was functioning as it should.
Kimani admitted that at times her frustration would get to her , but she is beyond grateful that she was able to push through and get it done. Click here to check her website and product line.
So when it comes to launching, upgrading or maintaining your WordPress site, it doesn’t have to be difficult or overwhelming. The key is to take things one step at a time.
If you need some help with launching your website or upgrading the one you have, do not hesitate to contact me.
I have recently started a web site, the information you offer on this web site has helped me greatly. Thank you for all of your time & work. Jerrine Hansiain Chema