How to Organize Your WordPress Dashboard Like a Boss
Don’t you just love the WordPress dashboard? A ton of randomness that sometimes feels like a cluttered attic overflowing with forgotten furniture and dusty memories. This post equips you with the knowledge and tools to transform your dashboard from a chaotic jumble into an organized haven of efficiency.
Why Organize Your Dashboard?
Think of a well-organized dashboard as your website’s command center. By streamlining your layout, you’ll:
- Save time: No more hunting for specific settings or plugins. Everything will be at your fingertips.
- Reduce stress: A clean interface translates to a calmer mind, allowing you to focus on website optimization.
- Boost productivity: Streamlined workflows mean more time spent creating amazing content and growing your business.
Ready to Declutter and Conquer?
Let’s dive into the tools and strategies that will turn you into a WordPress dashboard organizing pro:
1. Utilize the Screen Options Menu:
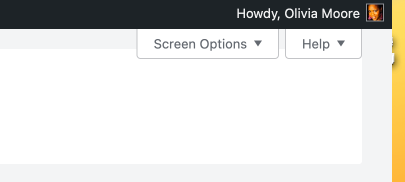
This unsung hero, located at the top right corner of your dashboard, offers a treasure trove of customization options. You can choose which dashboard elements to display, allowing you to hide irrelevant widgets and focus on the information you use most frequently.
2. Unleash the Power of Drag & Drop:
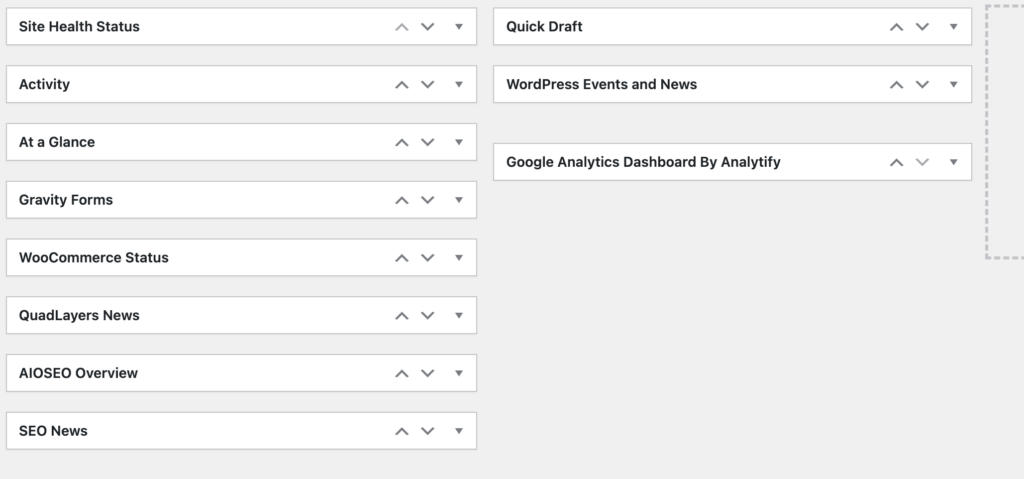
WordPress allows drag-and-drop functionality for most widgets. Rearrange your dashboard widgets to prioritize the ones you use most often. Place frequently accessed settings like “Posts” or “Comments” near the top for easy access.
3. Tame the Plugin Jungle:
Plugins are a website’s Swiss army knife, adding functionality and features. However, an excessive number can lead to clutter. Here’s how to manage them effectively:
- Deactivate and Delete Unused Plugins: Regularly review your plugins and deactivate or delete any you don’t actively use.
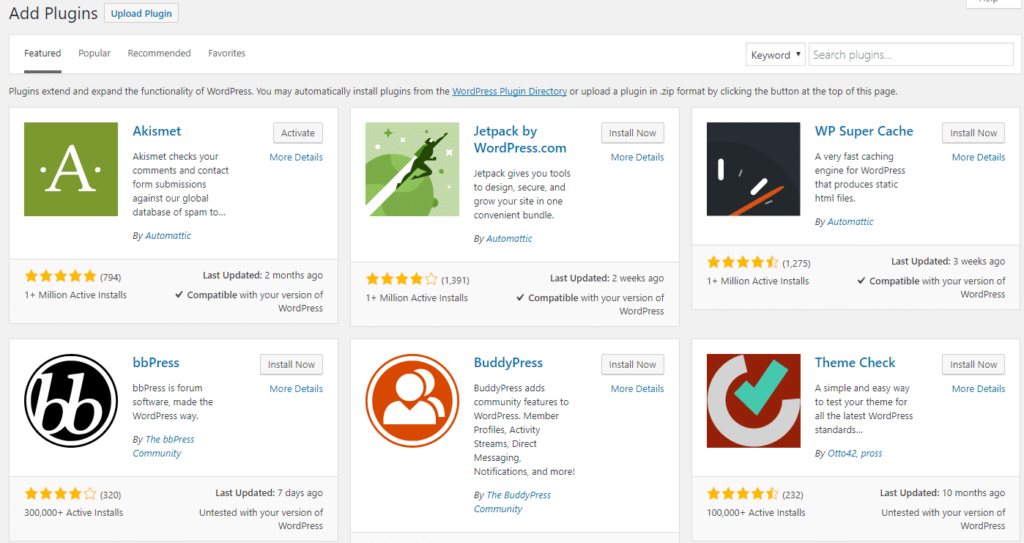
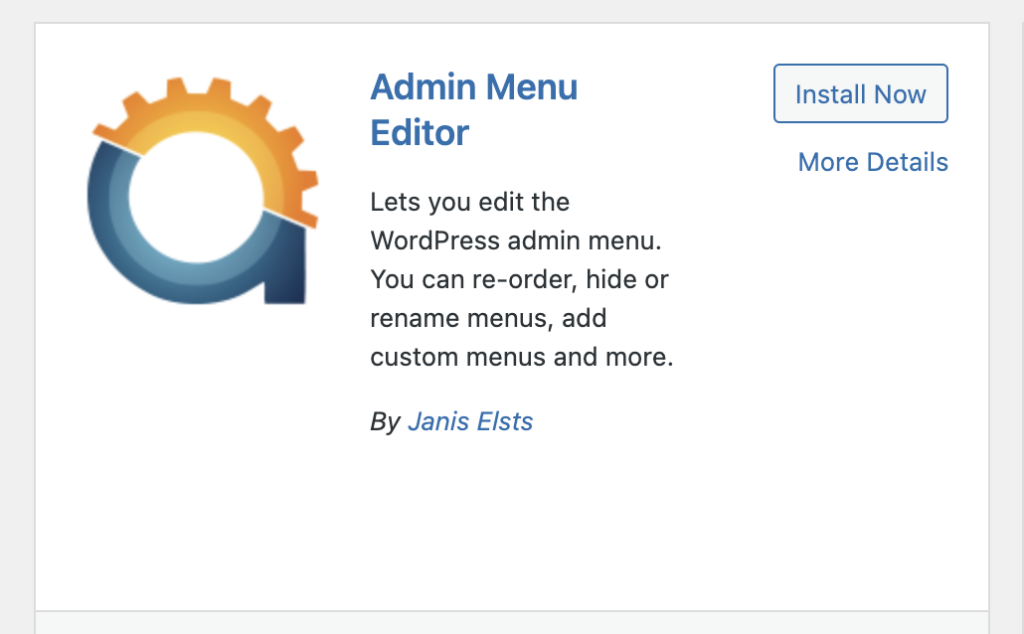
- Organize with Folders (Requires Plugins): Take your plugin organization a step further with plugins like “WordPress Folders Plugin” or “WP Admin Menu Editor.” These allow you to group plugins into folders, keeping your dashboard even more streamlined.
4. Master the “At a Glance” Section:
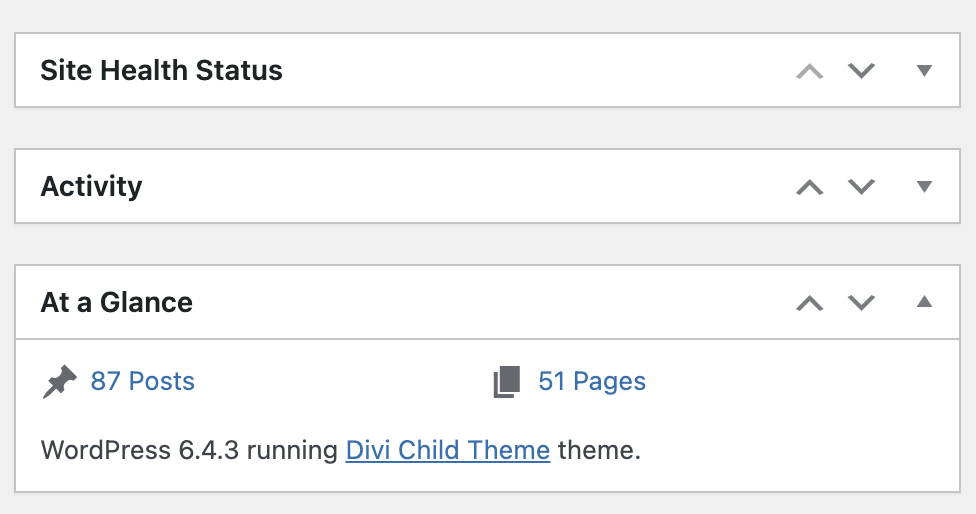
This widget offers a quick snapshot of essential website information like comments, drafts, and updates. Keep it visible for a convenient overview of your website’s health.
5. Create Custom Menus (Advanced Users):
For experienced users, consider creating custom menus using plugins like “WP Admin Menu Editor.” This allows you to rearrange and rename menu items, further tailoring your dashboard to your specific needs.
Bonus Tip: Explore Dashboard Customization Plugins:
The WordPress plugin repository offers a wide variety of plugins dedicated to dashboard customization. These can offer additional features like custom layouts, color schemes, and widget management tools. Explore and find one that fits your workflow and aesthetics.
Maintaining Organization: A Proactive Approach
Remember, organization is an ongoing process. Regularly audit your dashboard, declutter unused elements, and consider updating your layout as your website’s needs evolve.
Embrace the Organized Life!
By following these tips and embracing a spirit of organization, you’ll transform your WordPress dashboard from a chaotic mess into a well-oiled machine. A calm and efficient dashboard sets you up for website management success, allowing you to focus on what truly matters – growing your online presence and achieving your business goals!
