by Olivia Moore | Dec 9, 2020 | e-commerce, Web Solutions
Problem: You want to add a t-shirt or product line to your business. You need a new revenue stream for your online business, and you don’t want to purchase a bunch of inventory that may sit and collect dust. You also do not have the time to add more clients to your schedule. (BTW, this post contains affiliate links)
Solution: You could use a drop shipping company to create and send your custom designed t-shirt or product directly to your customers. There are many options to choose from but today I’m going to talk to you about how to use Printful to create a t-shirt line for your brand or business.
Printful makes it easy to put your designs on products such as tshirts, mugs, hats and even canvases. All that you have to do is upload your designs to products of your choice. Printful will fulfill your orders with on-demand printing and will send the products directly to your customers.
Action Steps:
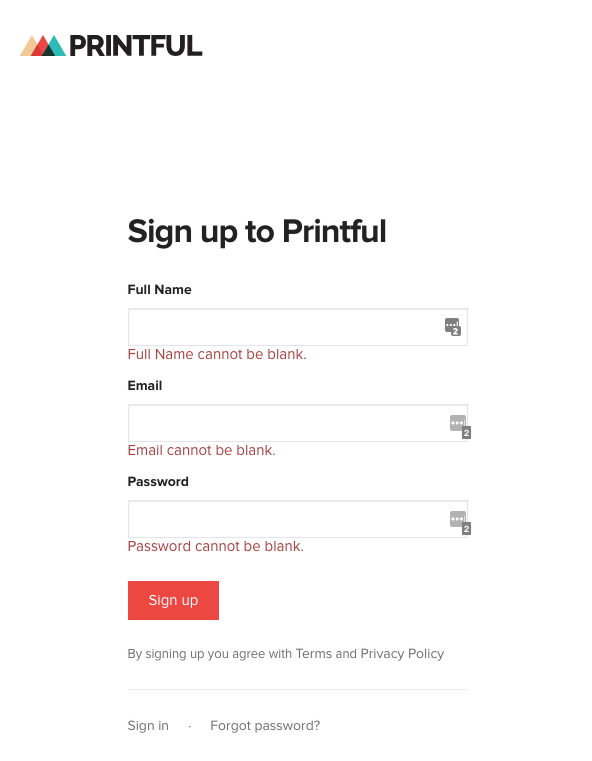
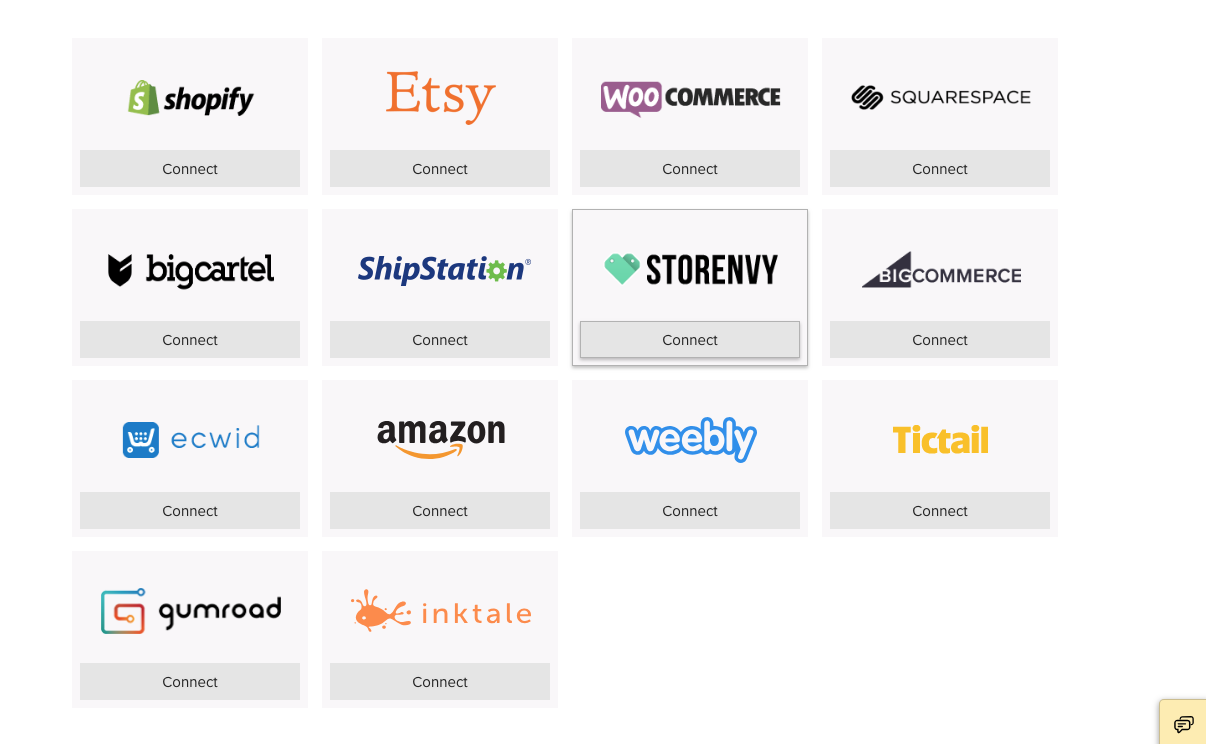
2. Connect your WordPress Store ( Woocommerce). For those who have worked with me, you should have Woocommerce installed.
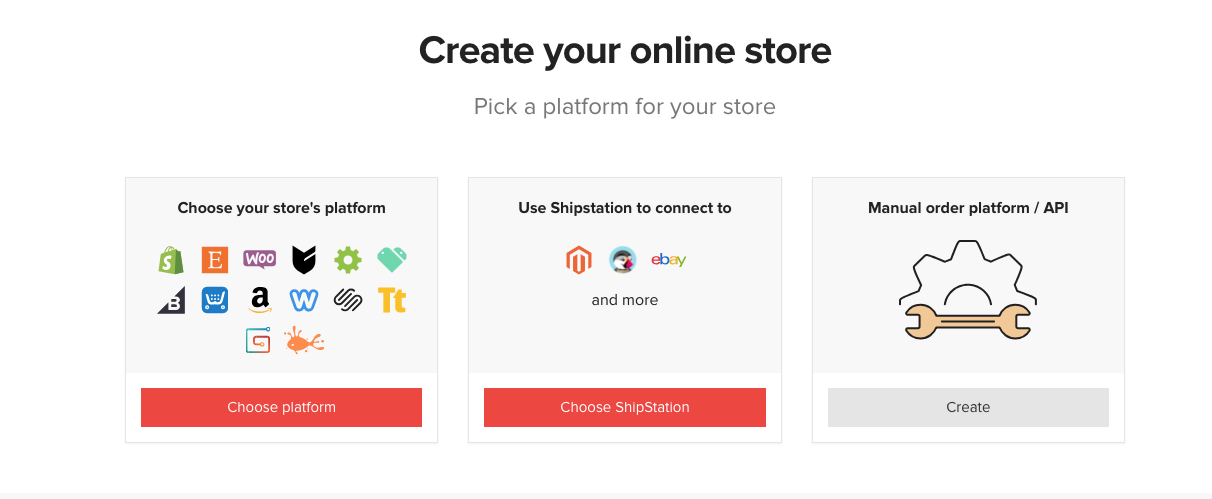
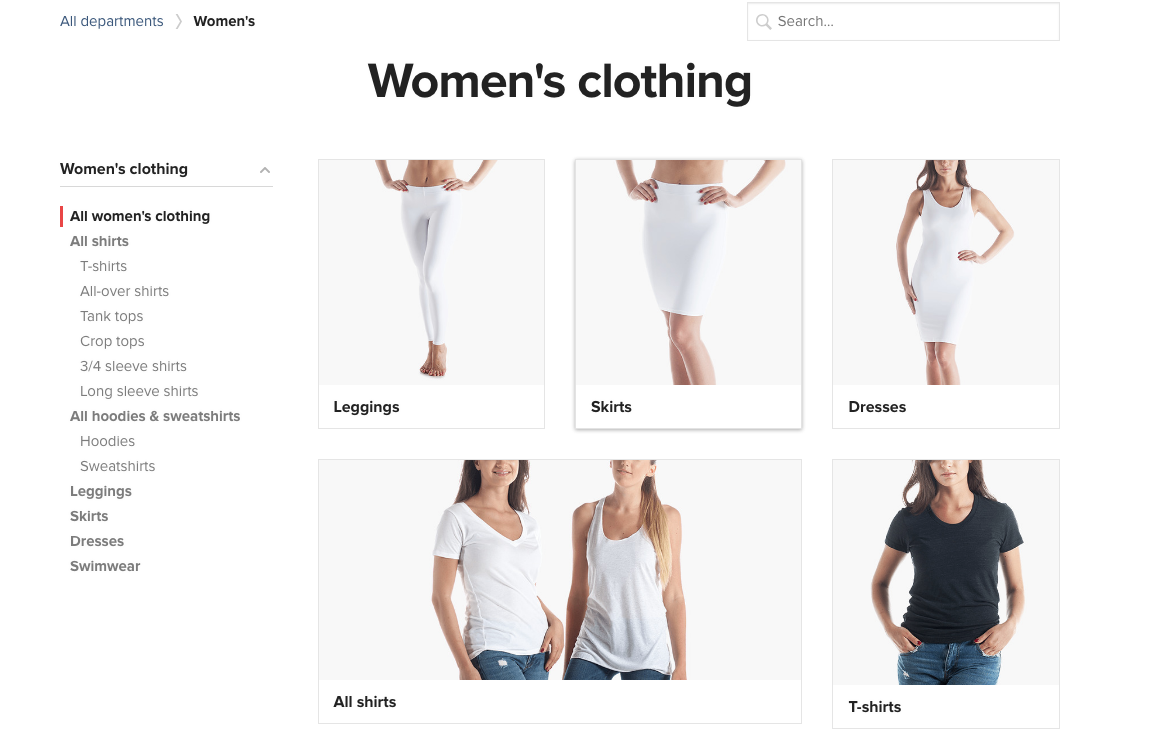
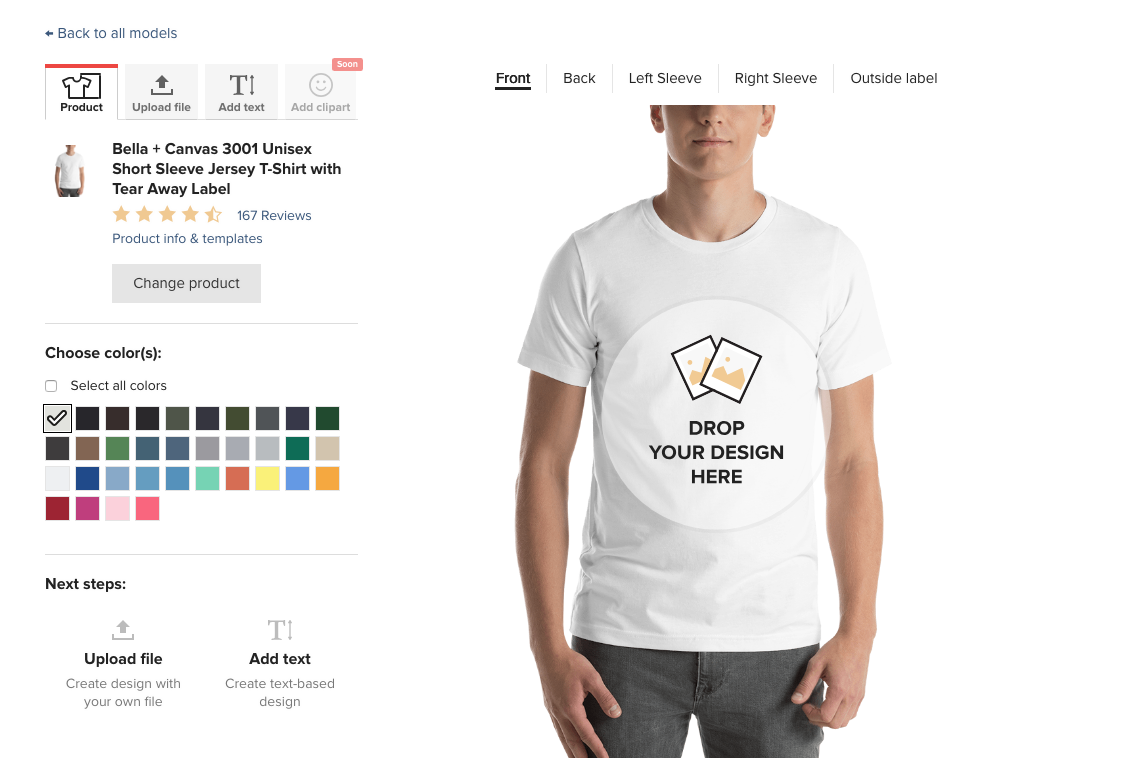
3.Upload a design to the product of your choice. In this case, we are going to use a t-shirt.
4.Publish the product in your store that you created.
- When an order is placed, Printful will print your design on the t-shirt you selected
- Printful ships the product directly to your customer
- You pay Printful for products only when an order is placed.
Conclusion
I have a few clients who currently have t-shirt lines that we worked together to create using Printful. Here is a link to one of their stores.
If you have questions, or you need some assistance with getting your custom t-shirt line started, do not hesitate to contact me.
by Olivia Moore | Dec 3, 2020 | Web Design, Web Solutions
Yesterday my daughter, Kimani, launched her very first website. If you don’t follow me on Instagram or Facebook, you may have missed it.
As much as I wanted to do it for her, I thought it would be a great opportunity to learn how to do it herself. Today I’m going to walk you through the steps Kimani took to launch her site and also add her own line of apparel and mugs.
DISCLOSURE: THIS POST MAY CONTAIN AFFILIATE LINKS, WHICH MEANS I GET A COMMISSION IF YOU DECIDE TO MAKE A PURCHASE THROUGH MY LINKS, AT NO COST TO YOU.
Site Creation and Launch Steps
Before she touched her computer, I encouraged her to pull out a pen and paper and plan as much as she could.
Step 1 : Research and Plan
Kimani sat and did a brain dump of all the things she wanted to see and do with her new website. She followed the steps in the Anatomy of a Website E-book to plan content for each page. She also chose her fonts and brand colors that she wanted to use on her website and graphics.

She had a few options in mind when it came to business names, but she ultimately decided on Prism Ink Creations, which included her love for rainbows and the art of drawing/sketching. Once she decided on a name, she decided to design her own logo.
Step 2: Purchase domain and hosting

Because she took the time to think of her business name in advance, creating a domain was simple. She did a search to see if prisminkcreations.com was available, and luckily it was available. We worked together to register her domain with Bluehost, and used their quick WordPress installation.
Step 3: Installed the Divi theme and pages

We decided to use a premium drag & drop theme and builder so that Kimani can easily change her design if necessary.
Step 4: Design and add content to each page
Using the content she created from step 1, she created each page of her site.
Apparel & Mug Creation Process

Step 1: Created design(s) for her apparel and mug line
Kimani initially sketched her designs, then we had them converted to a digital format. She then downloaded the file with a transparent background in png format.


Step 2: Installed and configured Woocommerce plugin
Woocommerce is a shopping cart plugin that will be used to sell her products.
Step 3: Signed up for a payment processor ( PayPal, Square, Stripe, etc.)
Step 4: Signed up for an account at Printful
Printful is a print on demand company that will handle the creation and shipping of her products.
Step 5: Installed and set – up printful plugin
Step 6: Chose & customized her products in Printful
Step 7: Add products to the Printful store
Final Steps:
Once it was all said and done, Kimani and I worked together to test the site to make sure it was not only responsive, but also to make sure that everything was functioning as it should.
Kimani admitted that at times her frustration would get to her , but she is beyond grateful that she was able to push through and get it done. Click here to check her website and product line.
So when it comes to launching, upgrading or maintaining your WordPress site, it doesn’t have to be difficult or overwhelming. The key is to take things one step at a time.
If you need some help with launching your website or upgrading the one you have, do not hesitate to contact me.

by Olivia Moore | Nov 23, 2020 | hosting, Web Design, Web Solutions
You don’t need to be rolling in dough to launch a WordPress site. In fact, you can launch a site on a small budget. Today I’m going to show you how to launch a WordPress blog for under $45.00.
Oh and by the way: This post contains affiliate links, meaning that if you choose to click through and make a purchase, I will receive a small commission at no cost to you.
Costs
The costs for building a WordPress website can range from low to Woah! There are many factors to take into consideration when you decide to launch a WordPress site. Here are the main things you need to purchase to launch your site: *If you decide to DIY
- Domain & Hosting
- Theme
- Plug-in(s)
WordPress Hosting

Purchase hosting with a company that offers you free domain registration. Some hosting providers offer domain registration free with the purchase of a hosting package. In fact, Bluehost, the company I use to host all of my sites, is offering web hosting for $2.95 per month for a year of hosting. This is a part of their Black Friday deals. That’s 35.40 for one year of hosting and a free domain)
WordPress Theme
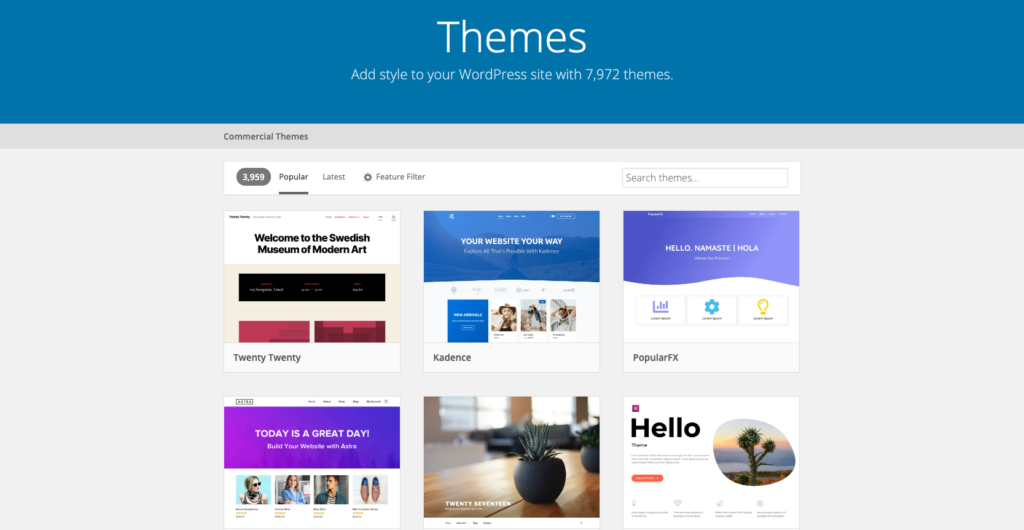
Use a FREE WordPress Theme. There are many options when it comes to choosing a theme. I prefer a premium one, but you can start with a free theme until you’re ready to upgrade. Use this link to search for Free WordPress themes.
Plug-ins
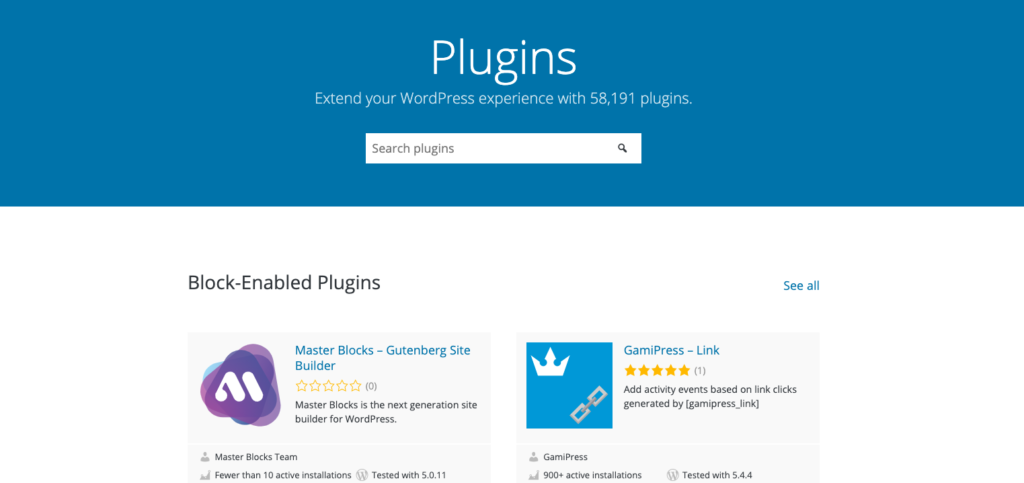
Use FREE Plug-ins. The WordPress repository has a ton of plug-ins, some of which are free. Just remember to write out your list features, search, compare your options, and choose ones that have been updated recently. Some of my favorite free plug-ins are Yoast SEO, Contact Form 7, and Classic Editor, just to name a few.
So let’s do the math
Domain & Hosting Costs: $35.40
WordPress Install costs: $ 0.00
Plug-Ins: $ 0.00
Theme: $ 0.00
Grand Total: $35.40
So for less than the costs of a new pair of shoes, you can launch your WordPress site. Need some help with launching a WordPress site? Contact me to chat about your next steps.
by Olivia Moore | Nov 2, 2020 | Web Solutions
Hackers don’t care or discriminate.
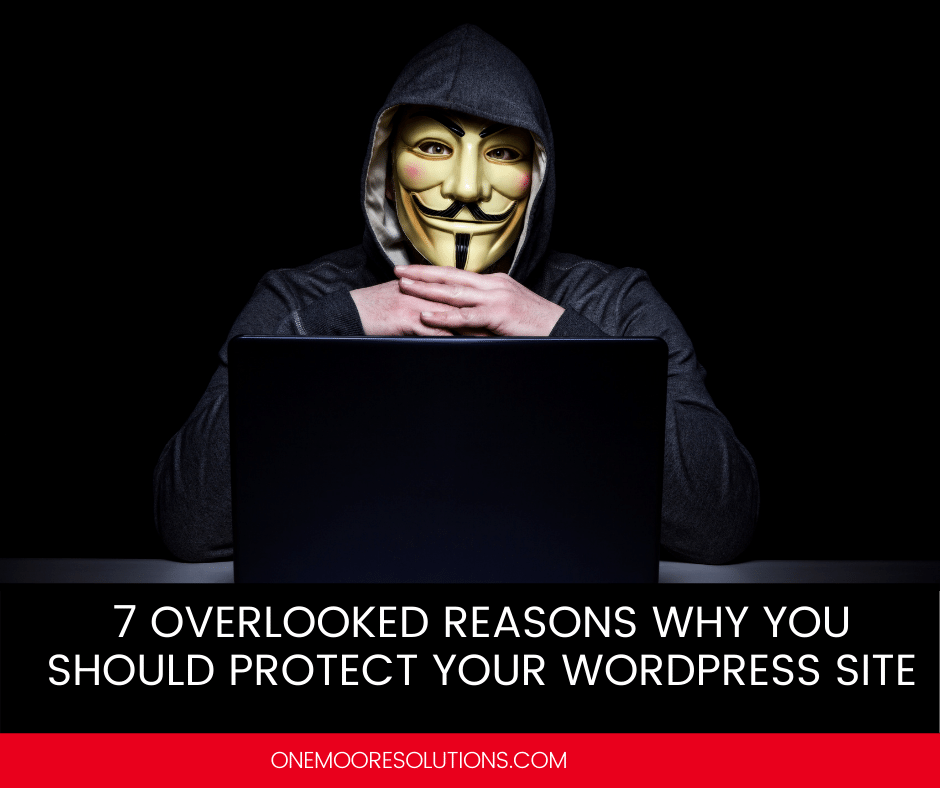
Which is the number one reason why you should protect your WordPress site.
I’m not trying to startle you or discourage you in any way, but I love you enough to tell you the truth. I’ve seen businesses of all sizes get hacked.
Your WordPress website is no different. It’s not something to set and forget or ignore.
Here are 7 overlooked reasons why you should protect your WordPress site:
1. Maintain trust and a good reputation
When your clients and potential clients visit your website and find that it’s not working, they usually keep it moving. And many times they will go to your competitor who is taking care of their website. You could potentially lose business and customers if your website is not kept up to date.
2. Save yourself time
Your hands are already full with the daily running of your business, managing your home, and more, so you don’t have time to figure out how to de-hack your site if should ever get hacked for some reason. You don’t have time to Google the solution. Or maybe you do, but why not spend time doing something you actually enjoy doing.
3. Save money
A hacked site means it will be down until it’s restored. If you are selling products and services or blogging for profit….that means no money is being made.
4. You will feel more confident and secure in the daily running of your business
Instead of sitting in a pool of worry and anxiety about the safety of your site, you’ll feel secure knowing that your site is safe, protected, and in good hands.
5. It Costs More to Fix Than to Maintain
You’ve already invested money into the creation of your site, and it will cost you more money to get your site fixed and back online than to invest in protection and maintenance for your site.
6. Malware and viruses are creepy and annoying
Malware and virus are hideously ugly and make your site sick. If you’ve ever experienced a malware attack, you know ow annoying those attacks can be.
7. You need your website
Period. It is the hub for your business and super important to have in 2020 and beyond. It’s the foundation of your online business. Why wouldn’t you protect it?
Conclusion
It’s time to protect your website. Put your WordPress site in my hands. If you’re interested, check out our WordPress Care Packages, or contact me.

by Olivia Moore | Oct 8, 2020 | Web Design, Web Solutions
Don’t let the Covid-19 restrictions take you out of the game…
Problem: You’re a service provider who normally meets with clients in person. Due to Covid-19, your face to face visits are limited or don’t exist. You need a solution to be able to schedule consultations, collect payments, and meet/chat with your customers.
Solution: Digify your Business
That’s right. It’s time to Digify your business. I’m not asking you to create a digital version of yourself or become a programmer…( breathe ok) . But I am asking you to open your mind to add some solutions to your current business. If you have a website or landing page already, then you’re halfway there. If not that’s ok too.
Oh and by the way….this post contains affiliate links.

How to Digify Your Business
So how do you digify your business? You choose one part of your business that would normally be done in person and find a digital/web solution.
Let’s use the consultation as an example. Almost every service business has some sort of consult which is usually done in person or over the phone. Digifying the process not only saves you time and energy, but you’ll be able to get as much information as possible before deciding if you want to work with the potential client. Here are the items you need to conduct a consultation in person:
- A Consult Form – Use this form to collect basic information and ask any questions you’d normally ask during a consultation. Questions vary depending on your industry.
- A calendar – use this to schedule your consultations and future appointments
- Your 2 eyes ( 4 if you wear glasses) – use this to make eye contact and connect with your client
All of these items can be digitally/virtually done.
You can use Gravity Forms to create consultation forms. Calendly to accept appointments and payments, and Zoom for video conferencing. If you have a WordPress site, all of these can be added to your site and automated. This ensures that potential clients can book you while you sleep. You can also set up an autoresponder to let them know what to expect next.
Need some help with digifying your business? Maybe you’re ready to DIgify your business. Schedule a free 30-minute discovery call with me today!


