fbpx
Why I switched to Flywheel Managed WordPress Hosting

Why I switched to Flywheel Managed WordPress Hosting

I’m a firm believer in starting where you are. It is the number one advice I give to my clients who are just starting out. But there comes a time when you have to evaluate and make changes when necessary.

Over the past 10 years, I have worked with Bluehost as a web hosting provider. I still use Bluehost for myself as well as for clients. I also had clients who were having issues with their web host, so we worked together to find the best solution.

Recently, I personally decided to change hosting providers for HypnoEars. A few months ago I switched from Bluehost to Flywheel.
I love every minute of it.

Why I Switched to Flywheel

Here are some of the reasons why I not only switched from Bluehost to Flywheel but also transferred some of my clients to Flywheel:

Save Time

Flywheel provides many features that will help you save time. I can quickly and easily make changes to the website or restore a backup from the dashboard. With our previous hosting service, I managed everything. Each time there was an issue or update, I took care of it.

Easy Migration

When it was time to make the switch, Flywheel handled the migration for me. I gave them the WordPress login info and they handled the rest.

Security Features Included.

Flywheel monitors each website for hacks and malware.
Other security features include SSL certificates, data encryption, and two-factor authentication.

Dope Customer Service.

The customer service team at Flywheel is the best. I’ve contacted them a few times over the years and each time they respond quickly and resolve the issue.

I breathe easier having great customer service. With Flywheel, I have a team behind me. The best part is, I didn’t have to spend the time to figure it out myself.

Having Flywheel managed WordPress hosting means I’m no longer on my own to fix and resolve issues.

WordPress Experts

Flywheel specializes in managed WordPress hosting. That means the people behind the scenes know WordPress. As their website states, “No need to read through forums to find out how to fix that esoteric Apache error. We’re on it.” No Apache errors yet, but all our minor issues/requests have been taken care of.

Final Thoughts


The cost of Flywheel is well worth it. With managed WordPress hosting, I can rest and know that when an issue comes up, it will be handled by an awesome team over at Flywheel.

If you enjoyed this Flywheel review, consider using my affiliate link to sign up.

Need some time to figure out if you should make the switch to Flywheel? Contact me to chat.

8 reasons why you should use WordPress

8 reasons why you should use WordPress

So you’ve decided to invest in a website. Your friends and fellow entrepreneurs have all recommended everything from Wix, Weebly, and GoDaddy website builder, to Squarespace, WordPress, and more. There are pros and cons to using each one, but how do you decide which to use, but how do you decide? I’ve personally used a few different platforms, but WordPress has been my go-to favorite. Today I’m going to share 8 reasons why you should use WordPress to build your website. 

It’s Free 


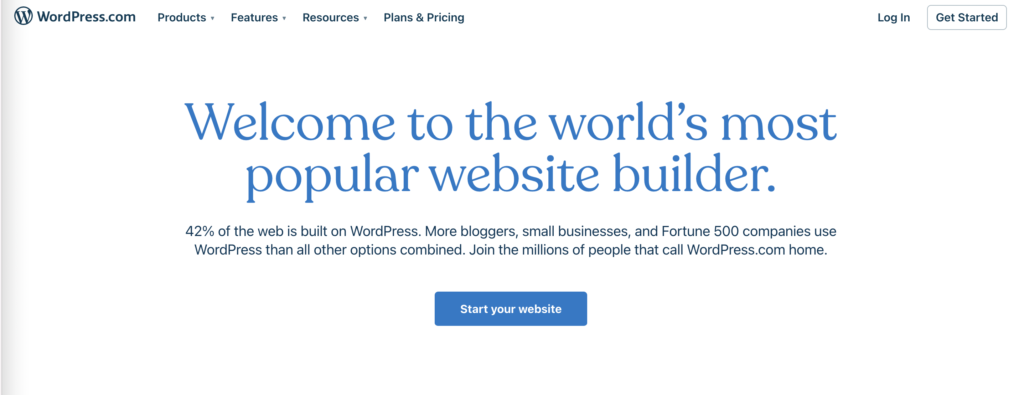
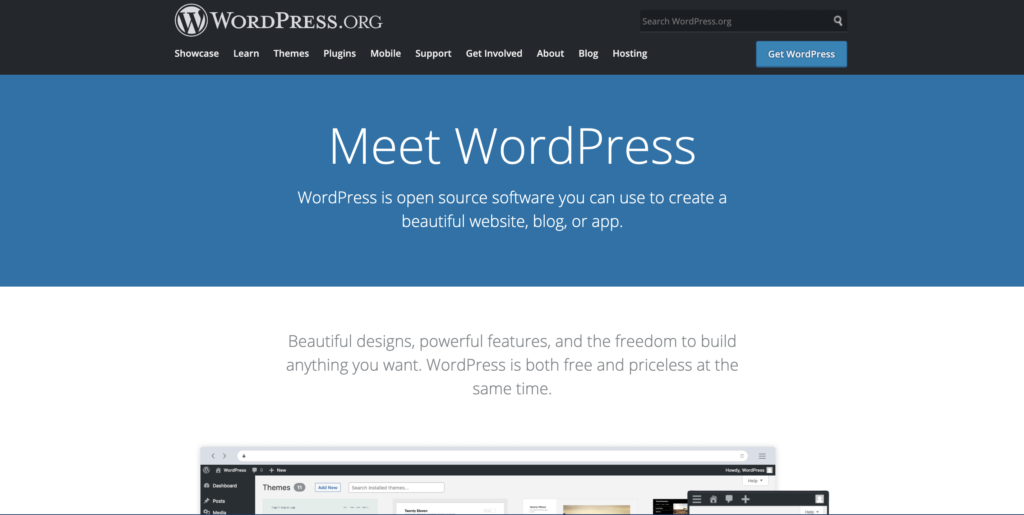
Both WordPress.com and WordPress.org are completely free to use. WordPress.org is a self-hosted version where you have more control of your site. WordPress.com is great for beginners, but it’s not the best for businesses that plan on growing. WordPress.com has paid plans but is a good solution for personal blogs.


Wordpress.com Picture


WordPress is free for anyone to download. Although the WordPress software is free, you will end up spending money to get set up.  WordPress is self-hosted, so you will need hosting. Hosting can range from $3 per month for shared hosting to $25 or more a month for managed hosting.

WordPress.org Picture


You can find free plugins and themes,  but the paid ones often provide better features and support. Some WordPress users invest in more services such as logo design or copywriting. But, you can keep your WordPress costs small. If you are comfortable taking on the role of creating your own site design,  you may end up only paying for hosting.

You can create any type of website, not just a blog

One of the common myths about WordPress is that it is only for building blogs. At one point that was the case. Initially, WordPress was created as a blogging platform, but that has changed over the years.

WordPress has a ton of blogging capabilities. You can quickly write and publish blog posts using WordPress. Some platforms think of apps and design first, and blogging is an afterthought.

With WordPress, you can create everything from landing pages to e-commerce sites, membership sites, and more. 


It’s easy to learn

WordPress can be used by anyone. A quick Google search will lead you to videos, blog posts, and forums to help you learn any aspect of  WordPress.

There are plenty of resources available for learning about WordPress. You can find solutions and tutorials for any WordPress challenges you may face.

You can find free WordPress training or paid training. I often recommend that my clients use the  WP101 website for clear and easy-to-follow training.  They have tutorials that cover basic WordPress, WooCommerce, Yoast SEO, and more.

WP101 Picture

You can also sign up to receive WordPress tips and solutions in your inbox.


There’s a huge community with lots of support

The WordPress Community isn’t just for developers or the tech-savvy. It’s for anyone who uses WordPress. You can find plenty of support via FB groups, Reddit Forums, or even WordPress Meetups.


You can upgrade your website as your business grows

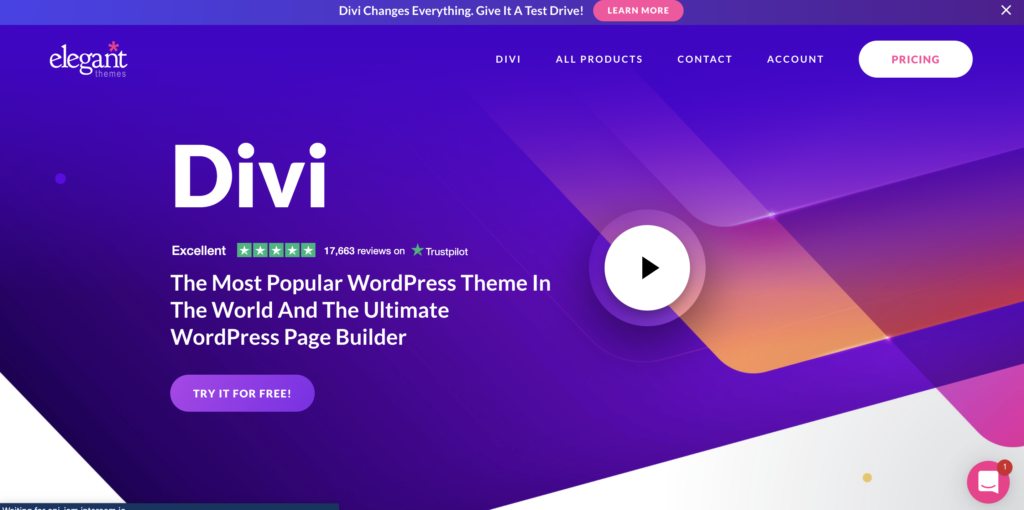
My advice is always to start where you are, and grow as you go. You can start out with a landing page and grow to a full e-commerce site without having to switch platforms. If you invest in a premium theme, like Divi, you can easily create new pages using a pre-built template. If you have a blog, you can use Woocommerce to upgrade your website to an online store. You can transform your website using plugins and themes easily with WordPress. 

Divi Picture

SEO is built into the platform 


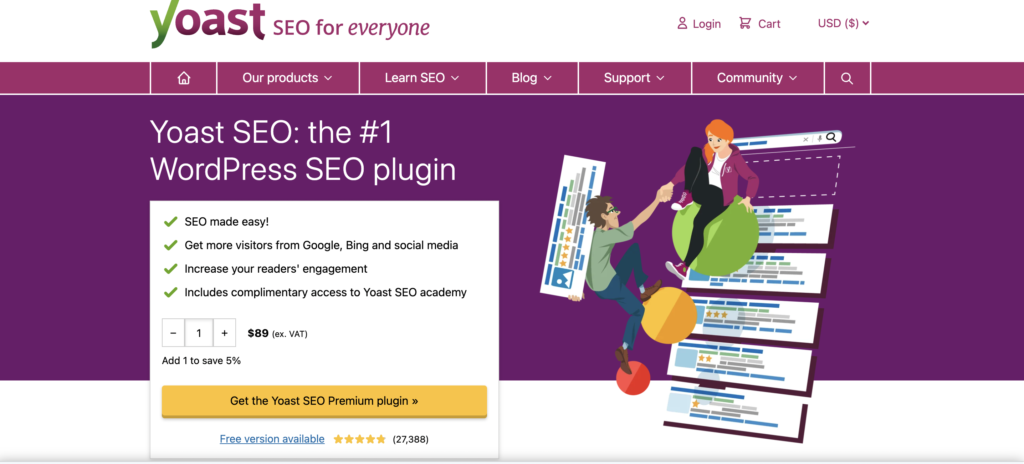
WordPress is known for having SEO built into the platform. WordPress generates title tags and meta descriptions for all your pages and posts. One of my favorite plugins that I use to make sure I stay on top of SEO is the Yoast Plug-in. The standard SEO features of WordPress are amazing, but Yoast does a great job of helping you create SEO-friendly posts.

Easy to manage

WordPress isn’t difficult to manage if you learn the back end and take training or course. WordPress Website maintenance usually involves the following:

  • Making sure your site is online
  • Making sure your site is backed up.WordPress site backups are either handled with plugins or through a managed WordPress host
  • Keeping your plugins, themes, and WordPress software updated.
  • Deleting spam
  • Checking site speed and broken links.
  • Keep your site speedy

Most of these tasks can be done monthly. If you don’t want to deal with the responsibility of site maintenance, I offer WordPress care plans.

So, should you use WordPress? Because It’s Dope

As a blogger, business owner, or consultant, WordPress is the right choice. You will have complete control over your site, but you will also have the freedom to upgrade as needed.

I hope this makes your decision easier to make. If you have questions, comments, or concerns, feel free to contact me anytime.


Building a WordPress Website for a Natural Hairstylist

Building a WordPress Website for a Natural Hairstylist

Building a Natural Hairstylist WordPress website


Meet Janelle. She is a full-time natural hair stylist who spends about 6 days per week servicing clients. She primarily markets her business via social media on Facebook and Instagram. She has a steady flow of clients but wants her clients and future clients to have one space where they can contact her outside of social media. She’s on the fence about investing in a website and isn’t sure if she has everything she needs to design one. Today I’m going to show you how Janelle can combine what she has with what she needs and create a nice home page.

Ok the first step is figuring out what Janelle has so far:

  • Logo
  • Brand Colors- Red, Black and White
  • Business name – Natural Insights Hair Salon
  • Social Media Outlets ( Facebook, Instagram)
  • Awesome client photos
  • Booking through Styleseat

Now we have to figure out what Janelle needs :

  • Domain & Hosting ( Get Online!)
  • Bio (About section)
  • List of Services (Service Section)
  • Contact info ( Address, email, phone) (contact section)
  • Call to Action ( Contact Section & Link to book to Styleseat)

Once we have all of the pieces, we need to put them all together to create a simple homepage.

The Quick Start Process

Step 1: Register the domain with Bluehost

Step 2: Install WordPress

Step 3: Install a Theme.

Step 4: Add a page called Home

Step 5: Start designing our home page

Sounds simple right? Well, there’s more to it, but this is a great way to get started instead of overthinking or procrastinating because it’s too complicated.

Janelle and I worked together to come up with a super simple homepage that not only tells her story but gives her clients the opportunity to get in contact with her. Eventually, Janelle can add email marketing, e-commerce, and a booking calendar. This gives her a great foundation to start.

Wanna see what we came up with? Check out Janelle’s homepage.

If you are on the fence or frazzled about where to start, I completely understand. Use this free worksheet that will help you pull the pieces together.


How to sell your services online using Calendly, Zoom, and Stripe

How to sell your services online using Calendly, Zoom, and Stripe

It’s time to learn how to sell your services online.

It’s safe to say that Covid is here and we have no choice but to make some pivots and changes. I wrote about what it means to Digify your business. This is one step you can take to automate some of your processes.

As a service provider, instructor ( yoga, dance, personal trainer, etc), or coach, you want to be able to offer virtual services… and get paid for them. You also want the process to be as simple as possible.

You can continue to sell in your DM and manually send links and email back and forth…

Oh, and drop your CashApp link for payments…

Or you can automate and integrate with the use of a few dope tools.

There are three tools you can use to get the job done. They are:

  • Calendly
  • Stripe
  • Zoom


Step 1: Create your event in Calendly

Calendly is one of my favorites. This tool allows you to create online bookable events that are synced with your calendar. You simply sign up for an account, connect your Google or Outlook calendar, and set up your events.

Calendly Home Page

As a new user, you are able to use all features of the paid plan for 14 days. After that, you are downgraded to a free plan. To use the Stripe integration, you need to be on the 12$/month plan. (Compare plans and pricing)

After you’ve set up your account, you can start creating bookable events.

Calendly Event


One-on-One or Group events can be created. When choosing Group events, you can set a number for max. invitees for a booking.


Zoom is my favorite way of meeting online.

If you want to use Zoom as a meeting location for the first time, you will have to go to integrations and connect it to zoom. Oh, and btw, connecting to  Zoom to Calendly requires a paid account (Calendly, not Zoom).

But as you can see in the list above, it is also possible to choose Google Meet, GoToMeeting, or provide any type of location details.

For each bookable event, Calendly creates a unique link that you can share with anyone online.

Ok moving on…

On the next screen, you can set when people can book this event. Double-check the time zone and choose the length of time for the call/event.

Calendly also creates a central landing page for your account that shows all bookable meetings, if you do not want that specific event to be listed on that page, make the event secret.

Calendly Calendars

Other things you can do in  Calendly are:

  • Invitee Questions: Ask questions to make the online event a success. For example, ask your attendees to provide the material you want to discuss, which questions they want to discuss, etc.
  • Notifications and Cancellation Policy: Customize all email notifications (confirmation, cancellation, reminders) and add a custom cancellation policy.
  • Confirmation page: You can set a custom confirmation page that a user gets sent to after making a booking.
  • Collect Payments: Stripe or Paypal

Now it’s time to create your Stripe account before you can finish setting up your Calendly event.

Step 2: Connect your Stripe Account

You need to set up a Stripe account to be able to accept payments via Calendly events. Setting up your Stripe account takes about 10-15 minutes, or faster, depending on your business’s location.

Using Stripe does not involve fixed monthly costs, instead, they take a percentage from each transaction.

Stripe HOme Page

After you’ve set up your stripe, head over to the integrations page of Calendly.  Click on Stripe and connect your account.

calendly integrations


If you have finished connecting your account, select Stripe as a payment option in your Calendly event.

Calendly Set up

Now you are finished setting up your first Calendly event and can start promoting the service. When customers click on your event, this is what they will see. As you can see the dates that are available are highlighted and the cost is listed to the left. Once they click on their desired time, they must enter their card information and pay to book the session.


Calendly Calendar Example

Calendly example


After a booking is made, a calendar event will be added to the customer’s calendar and your own.


Within that calendar invite, details for the Zoom call are added automatically.


Conclusion

This was a short tutorial on how to sell your services online with Calendly.

Calendly, Zoom, and Stripe can be used together to sell your services online.

You share the link, they choose a time, pay, and get the zoom link via email.

That’s it … That’s all.

Do you want to discuss how this could work for you? Let’s chat in a virtual coffee chat!


Kimani’s Website Creation Process – A Case Study

Kimani’s Website Creation Process – A Case Study

Yesterday my daughter,  Kimani,  launched her very first website. If you don’t follow me on Instagram or Facebook, you may have missed it.

As much as I wanted to do it for her, I thought it would be a great opportunity to learn how to do it herself. Today I’m going to walk you through the steps Kimani took to launch her site and also add her own line of apparel and mugs.

DISCLOSURE: THIS POST MAY CONTAIN AFFILIATE LINKS, WHICH MEANS I GET A COMMISSION IF YOU DECIDE TO MAKE A PURCHASE THROUGH MY LINKS, AT NO COST TO YOU. 


Site Creation and Launch Steps

Before she touched her computer, I encouraged her to pull out a pen and paper and plan as much as she could. 

Step 1 : Research and Plan

Kimani sat and did a brain dump of all the things she wanted to see and do with her new website. She followed the steps in the Anatomy of a Website E-book to plan content for each page. She also chose her fonts and brand colors that she wanted to use on her website and graphics.


She had a few options in mind when it came to business names, but she ultimately decided on Prism Ink Creations, which included her love for rainbows and the art of drawing/sketching. Once she decided on a name, she decided to design her own logo.

 Step 2: Purchase domain and hosting

Because she took the time to think of her business name in advance, creating a domain was simple. She did a search to see if prisminkcreations.com was available, and luckily it was available. We worked together to register her domain with Bluehost, and used their quick WordPress installation.

Step 3: Installed the Divi theme and pages


We decided to use a premium drag & drop theme and builder so that Kimani can easily change her design if necessary.

Step 4: Design and add content to each page

Using the content she created from step 1, she created each page of her site.


Apparel & Mug Creation Process


Step 1: Created design(s) for her apparel and mug line

Kimani initially sketched her designs, then we had them converted to a digital format. She then downloaded the file with a transparent background in png format.


Step 2: Installed and configured Woocommerce plugin

Woocommerce is a shopping cart plugin that will be used to sell her products.

Step 3: Signed up for a payment processor ( PayPal, Square, Stripe, etc.)

Step 4: Signed up for an account at Printful 

Printful is a print on demand company that will handle the creation and shipping of her products.

Step 5: Installed and set – up printful plugin

Step 6: Chose & customized her products in Printful

Step 7: Add products to the Printful store


Final Steps: 

Once it was all said and done, Kimani and I worked together to test the site to make sure it was not only responsive, but also to make sure that everything was functioning as it should.

Kimani admitted that at times her frustration would get to her , but she is beyond grateful that she was able to push through and get it done. Click here to check her website and product line.

So when it comes to launching, upgrading or maintaining your WordPress site, it doesn’t have to be difficult or overwhelming. The key is to take things one step at a time.

If you need some help with launching your website or upgrading the one you have, do not hesitate to contact me.